MATERIALS:
- Yarn of your choice
- Crochet hook – appropriate size for your yarn
- Yarn needle to weave in ends
- Scissors
STITCHES & ABBREVIATIONS:
*Written in US terms
- Chain (CH)
- Slip stitch (Sl St)
- Double crochet (DC)
INSTRUCTIONS:
- Make a ring:
- CH 4, Sl St into first ch
- Round 1:
- CH 4 (treat this as your last DC post + 2 ch corner)
- *3 DC into ring, CH 2*
- Repeat * to * two more times
- 2 DC into ring
- Sl St into the corner gap the initial chain 4 created
- (12 DC total – 3 per side)
- Round 2:
- CH 4 (treat this as your last DC post + 2 ch corner)
- 2 DC into corner gap
- *DC into each of the next 3 stitches
- in the corner, work 2 DC + CH 2 + 2 DC*
- Repeat * to * two more times
- last side of square – DC into each of the next 3 stitches
- in the corner, work 1 DC
- Sl St into the corner gap to finish round
- (28 DC total – 7 per side)
- Round 3:
- CH 4 (treat this as your last DC post + 2 ch corner)
- 2 DC into corner gap
- *DC into each of the next 7 stitches
- in the corner, work 2 DC + CH 2 + 2 DC*
- Repeat * to * two more times
- last side of square – DC into each of the next 7 stitches
- in the corner, work 1 DC
- Sl St into the corner gap to finish round
- (44 DC total – 11 per side)
- You can fasten off or keep going around until you reach the desired size of your square. Remember, each side grows by 4 DC posts. Therefore, each round grows by 16 DC posts.
VIDEO TUTORIAL:
📌 Save it on pinterest: https://pin.it/7LJkAbDi3
PRODUCTS USED:
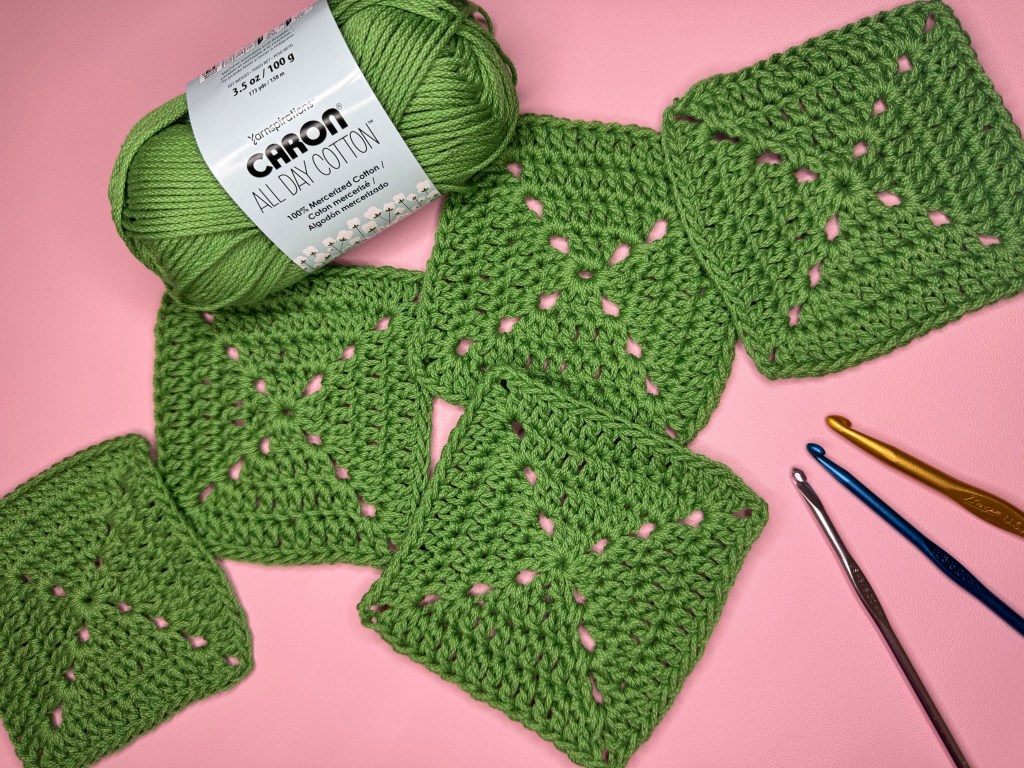
🧶 I used Caron All Day Cotton for this project. Link here: https://amzn.to/3GwwJLz
🟩 Blocking board I use for my granny squares: https://amzn.to/3GqiEiS
🙌 Ergonomic crochet hooks: https://amzn.to/4kjv4qE
There are affiliate links on this page. If you use it, I may earn a small commission at no extra cost to you. Thanks for your support! My family and I appreciate it very, very much❤️
